You may have noticed that when you create a WebAPI project in .NET 9.0, the default swagger UI is not there anymore by default. In this article, I will show you how to restore it back as the default UI. In addition, we will install an alternative UI to swagger named Scalar. The approach used applies to both minimal and controller-based WebAPI.
Companion Video: https://youtu.be/vsy-pIxKpYU
Source Code: https://github.com/medhatelmasry/WebApiDemo
Getting Started
Let us first create a minimal WebAPI project with the following terminal command:
dotnet new webapi -o WebApiDemocd WebApiDemo
Open the project in VS Code and note the following statements in Program.cs:
- Around line 5 is this statement, which adds the OpenApi service:
builder.Services.AddOpenApi();
- Also, around line 12 is this statement:
app.MapOpenApi();
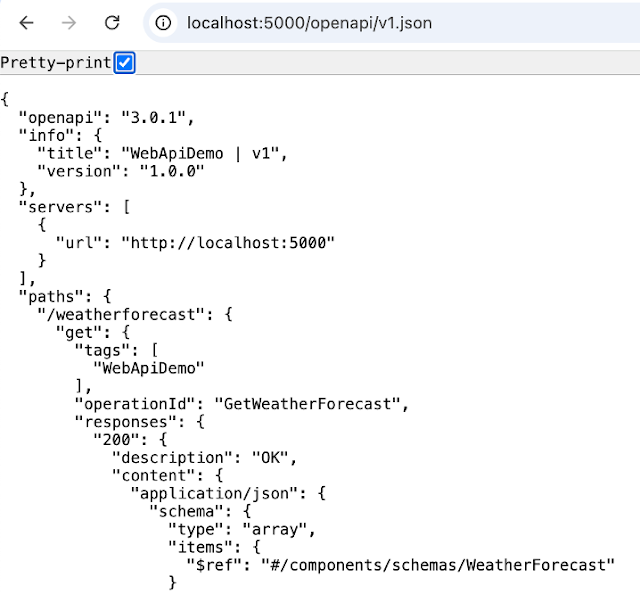
The above statements produce the following JSON endpoint file describing your API when you run your app:
/openapi/v1.json
This displays a page like the following in your browser:
Restoring Swagger UI
Note that swagger UI is nowhere to be found. It is quite straight forward to add a Swagger UI to your .NET 9.0 WebAPI project. Start by adding the following package to your project:
dotnet add package Swashbuckle.AspNetCore
You can now add the following statement right under app.MapOpenApi():
app.UseSwaggerUI(options => {options.SwaggerEndpoint("/openapi/v1.json", "My WebAPI");});
Now, run the project and go to endpoint /swagger in your browser. You should see this UI:
NOTE: If you want the Swagger UI to be accessed at the / (root) endpoint, then you can add this option:
options.RoutePrefix = "";
Scalar: alternative to Swagger
There is a much better alternative to swagger named Scalar. It offers you an enhanced UI and some additional features. Let us explore Scalar.
To use Scalar in an ASP.NET 9.0 WebAPI application, you must add the following package:
Comment out the following code in Program.cs:
// app.UseSwaggerUI(options =>// {// options.SwaggerEndpoint("/openapi/v1.json", "My WebAPI");// });
Replace the above commented-out code with this:
That's all you need to do. Let’s see how the Scalar UI looks like. Run the project and point your browser to this endpoint:
Explore this UI. One interesting feature is that you can view client code in a variety of languages. Here is what it looks like if you choose C#:
You can further customize the UI by enabling and disabling various options. For example, replace the statement app.MapScalarApiReference() with:
app.MapScalarApiReference(options => {options.WithTitle("My WebAPI").WithTheme(ScalarTheme.Moon).WithDefaultHttpClient(ScalarTarget.CSharp, ScalarClient.HttpClient);});
This results in a less dark theme and a default client code of C#.
Making Scalar UI the default page
To make the Scalar UI the default page when launching your WebAPI page with “dotnet watch”, edit the /Properties/launchSettings.json file and make the following changes:
1. In both http and https blocks, add this item:
"launchUrl": "scalar/v1"
2. Also, in both http and https blocks, change the value of launchBrowser to true.
Now when you restart your webAPI web app with “dotnet watch”, the Scalar UI is automatically loaded in your default browser.


No comments:
Post a Comment