The following is assumed:
- You have node.js & git installed on your computer
- You have an Azure DevOps account. Otherwise, create one at http://dev.azure.com.
- You have a Microsoft Azure account.
Clone a sample application from GitHub with the following terminal command:
git clone https://github.com/medhatelmasry/json-express
Create a new project in Azure DevOps. I created one called Toons.
Click on Repos on the left-side menu. Copy the URL under “Clone your computer” into the clipboard.
Go into a terminal window at the root of your application and execute the following Git commands:
git init
git add .
git commit -m "First commit"
git remote add azdev {paste the git URL here}
git push azdev master
Upon refreshing the Azure DevOps page in your browser, you should see your source code.

Build
Let us create a build. Click on Pipeline >> Build on the left side in Azure DevOps. Click on “New pipeline” in the middle of the page:
On the next page, choose “Azure Repos Git” then click on Continue.

Select the “Node.js With Gulp” template.

This creates for you these set of tasks:

We want to enable “Continuous Integration” so that whenever new code is pushed into the Git repo it automatically triggers a build. To do this, click on Triggers at the top. Check the “Enable continuous integration” checkbox.

To start the build, click on “Save & queue” >> “Save & Queue”. Ignore all the other input fields and click the “Save & queue” button on the next page.

You can see build progress by clicking on the build # on the top.


The next step is to create a web app in Azure. In your browser, go to http://portal.azure.com and create a web app. Click on App Services on the left-side, then click on the “Add" button.

From the available templates, choose “Node JS Empty Web App”.

Click Create to go the next page.
You will be asked for a unique host name. Accept the other defaults then click on the blue Create button. It will take about 2 minutes to provision your website. Once the website has been provisioned, return to Azure DevOps in your browser.
Release
The next step is to create a release in Azure DevOps. Click on Pipelines >> Releases on the left side. Click on the blue “New pipeline” button in the middle of the page.
On the next page, choose the “Deploy a Node.js app to Azure App Service” template, then click on the blue Apply button.


Let us add continuous deployment. Click on the thunderbolt symbol in the top-right of the first box.

Enable the “Continuous development trigger”.

Next, we need to setup the connection between DevOps and Azure. Click on “1 job, 1 task” in the second box.

Select the correct subscription under Azure subscription. While authorizing you may need to allow popups in your browser from the Azure site.
Under “App service name” select the web app that you created in Azure.

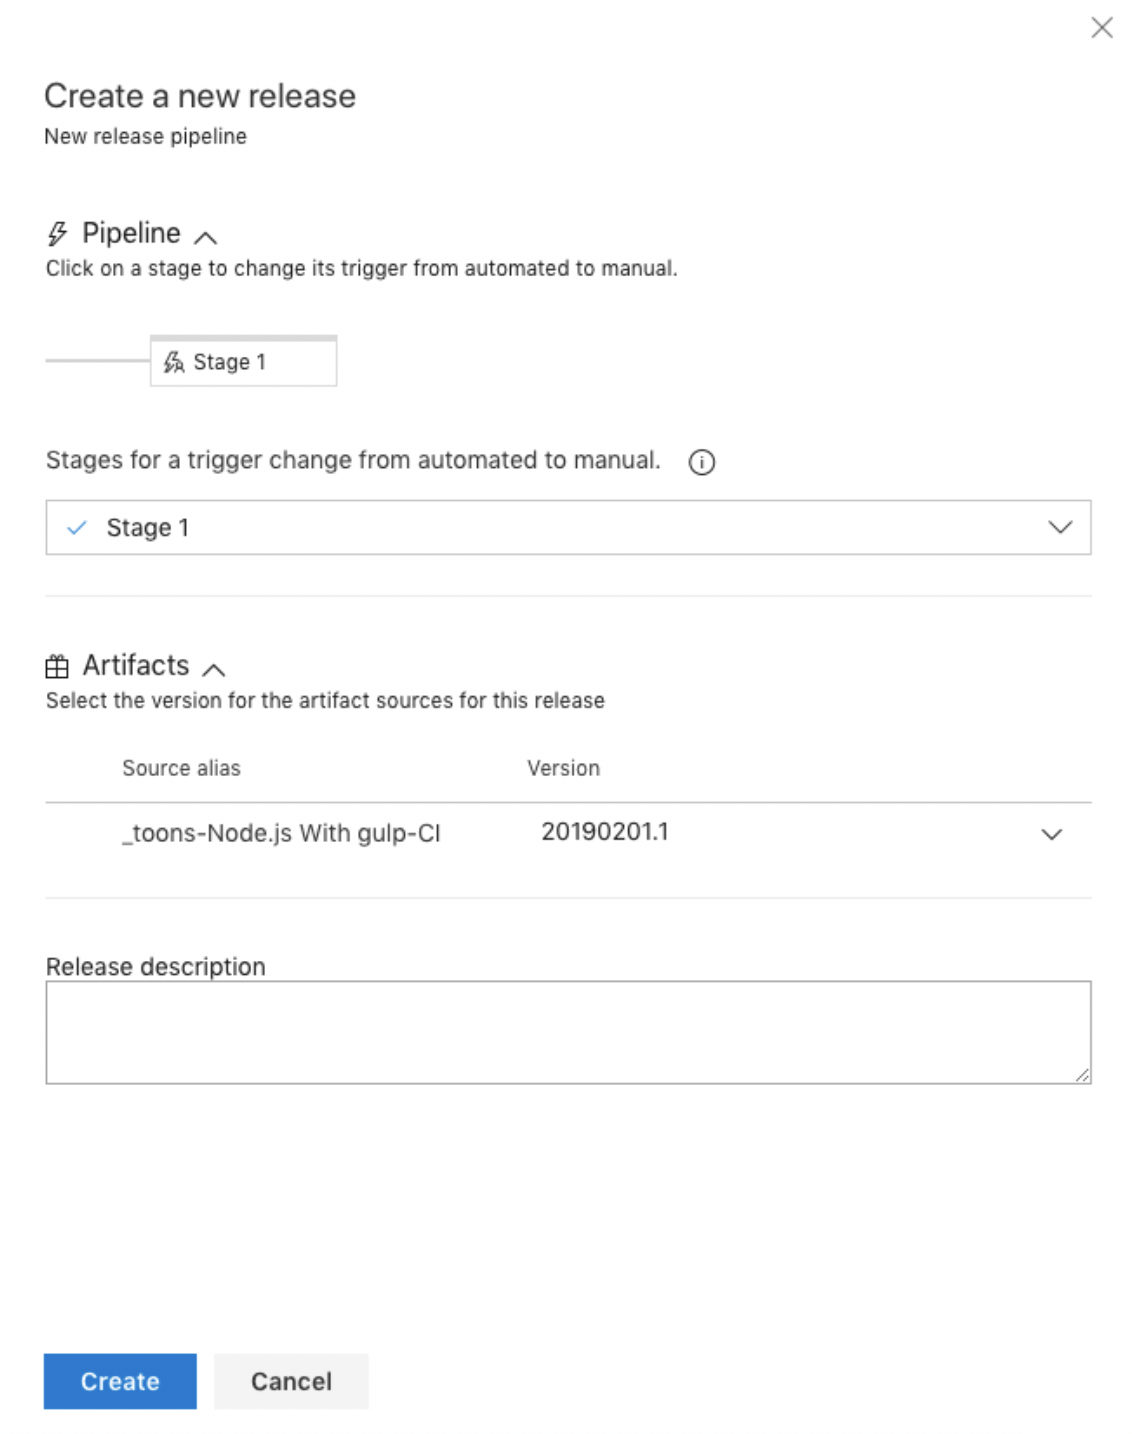
Once all these configurations are OK, click on the Save button on the top. After the release definition is saved, the Release button lights up. Click on “Release” >> “Create a Release”.
Choose a Stage and build artifact then click on Create.
Click on the release link on the top.

On the next page, click on the second “Stage 1” box.

Click Deploy on the following page.

On the dialog that pops up on the right-side, click on the blue Deploy button.

You should see progress of the release process. Copying of the contents of node_modules takes the longest time.

Once it completes successfully, you can request the web app in your browser.

Great guide. Thanks for marking the important parts on pics!
ReplyDelete