The following is assumed:
1) You have .NET Core 2.0 installed on your computer. Go to https://www.microsoft.com/net to download and install .NET Core 2.0.
2) You have Docker for Windows installed on your computer. Refer to https://docs.docker.com/docker-for-windows/install/ for instructions on how to install "Docker for Windows".
Let's get started.
Right-click on the whale docker icon in the tray and make sure it is in Windows Container mode. This is the case if it displays “Switch to Linux containers…” as shown below:

Right-click on the whale docker icon in the tray and make sure it is in Windows Container mode. This is the case if it displays “Switch to Linux containers…” as shown below:
Create a working directory somewhere on your computer's hard drive. I did so by creating a folder named AspCoreMySQL with the following terminal command:
mkdir AspCoreSqlExpress
Thereafter, go into the new folder with:
cd AspCoreSqlExpress
We will create an ASP.NET Core 2.0 application that uses individual authentication with Sql Server Local DB as follows:
dotnet new mvc --auth individual --use-local-db
To run the web application and see what it looks like, enter the following command:
dotnet run
You will see a message in the terminal window that resembles the following:
Hosting environment: Production
Content root path: E:\_aspnet\_docker\AspCoreSqlExpress
Now listening on: http://localhost:5000
Application started. Press Ctrl+C to shut down.
Content root path: E:\_aspnet\_docker\AspCoreSqlExpress
Now listening on: http://localhost:5000
Application started. Press Ctrl+C to shut down.
The above message indicates that the Kestrel web server is running and listening on port 5000. Start your browser and enter URL http://localhost:5000. You should see a page that looks like this:

Close your browser and stop the web server in the terminal window by hitting CTRL + C.
Let's look at the code to determine what database is being used by the application. Suitable IDEs for this tutorial are Visual Studio 2017 or Visual Studio Code. You can use any other editor of your choice.
Open Startup.cs in an editor and look at the ConfigureServices() method. The following code confirms that SQL Server is being used:
services.AddDbContext<ApplicationDbContext>(options =>
options.UseSqlServer(Configuration.GetConnectionString("DefaultConnection")));
The connection string is being read from the appsettings.json file, which looks like thois:
{
"ConnectionStrings": {
"DefaultConnection": "Server=(localdb)\\mssqllocaldb;Database=aspnet-AspCoreSqlExpress-22CD843B-79FF-412C-8F1D-6D6FE7CCC468;Trusted_Connection=True;MultipleActiveResultSets=true"
},
"Logging": {
"IncludeScopes": false,
"LogLevel": {
"Default": "Warning"
}
}
}
Add the following code to the Configure() method in the Startup.cs file right before app.UseMvc():
using (var srvc = app.ApplicationServices.GetRequiredService<IServiceScopeFactory>().CreateScope())
{
var context = srvc.ServiceProvider.GetService<ApplicationDbContext>();
context.Database.Migrate();
}
The above code will process any outstanding Entity Framework migrations.
We shall now download a suitable Docker image for SQLServer Express. Run the following command from a terminal window:
docker pull microsoft/mssql-server-windows-express:2016
This image is about 5 GB in size, so it will take some time to download. Once fully downloaded, then create a container from the Docker image with the following command:
docker run -d -p 7000:1433 --env sa_password=Sql!Expre55 --env ACCEPT_EULA=Y microsoft/mssql-server-windows-express:2016
The above Docker command will create an image with the following parameters:
- inside the container, the SQL Server database will listen on its default port number 1433. This port number is mapped to port 7000 on the host computer
- sa password is Sql!Expre55
- environment variable ACCEPT_EULA is set to Y
Check that the SQL Server container is running by typing the following Docker command in a terminal window:
docker ps -a
This should show a message that looks like this:
CONTAINER ID IMAGE COMMAND CREATED STATUS PORTS NAMES
327d371b6f39 microsoft/mssql-server-windows-express:2016 "cmd /S /C 'powershe…" 6 minutes ago Up 3 minutes 0.0.0.0:1433->1433/tcp musing_hopper
According to the above message, the container status is Up 3 minutes, which means that it is indeed running.
Now let's try to connect to it from our ASP.NET Core 2.0 application. To do this, we will need to get the internal IP address of the container. Identify the first three characters of your Container ID. In the above example it is 327. This will be used to obtain the container IP address by executing the following command in a terminal window:
docker inspect 327
Note: You will need to replace 327 above with the first three characters of your Container ID.
A JSON formatted listing of container parameters will be shown. Identify the value for Networks >> nat >> IPAddress. In my case, the container IP address is 172.18.211.55:

Edit appsettings.json and change the connection string with key DefaultConnection so that it has a value similar to the following:
Data Source=172.18.211.55;User ID=sa;Password=Sql!Expre55;Connect Timeout=30;Database=AspCoreSqlExpress;
Note: The IP address should match the one you identified for the container earlier on.
The SQL Server database listens on port 7000 on the host machine. This means that we can have an alternative connection string that looks like this:
Data Source=localhost,7000;User ID=sa;Password=Sql!Expre55;Connect Timeout=30;Database=AspCoreSqlExpress;
After saving the appsettings.json file, you can test your web application. Run the following commands from a terminal window:
dotnet restore
dotnet run
If all goes well, you will see a message that indicates that the web server is listening on port 5000. Point your browser to http://localhost:5000. The same web page will appear as before. Click on the Register link on the top right side.
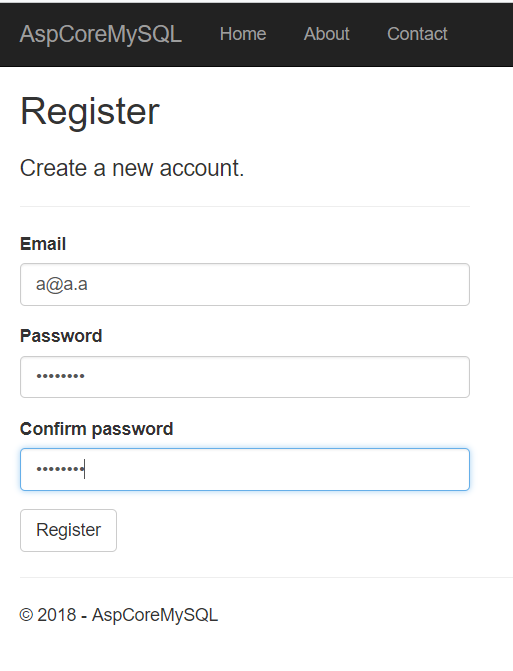
I entered an Email, Password and Confirm password then clicked on the Register button. I was then rewarded with the following confirmation that the credentials were indeed saved in the SQL Server Express database inside the container:

The message on the top right side confirms that a user was saved and that communication between the ASP.NET Core 2.0 application and SQL Server Express inside the container is working properly.
Let us directly access the container and list all the databases that exist. Using the first three characters of the Container ID, run the following Docker command in a separate terminal window:
docker exec -it 327 sqlcmd
Note: You need to replace 327 above with the first three characters of your Container ID.
The –i switch is for interactive and –t is for pseudo-TTY.
You will see a window that looks like this:

Enter the following pair of commands to display existing databases:
EXEC sp_databases
go
The output will look like this:

Enter these commands to display tables & views in the AspCoreSqlExpress database:
USE AspCoreSqlExpress
EXEC sp_tables
go
You can, alternatively, execute this command to see only base tables:
SELECT * FROM AspCoreSqlExpress.INFORMATION_SCHEMA.TABLES
WHERE TABLE_TYPE = 'BASE TABLE';
go
Enter these commands to display the content of the AspNetUsers table:
SELECT * FROM AspNetUsers
go
To exit the sqlcmd terminal window type exit and hit ENTER.
In my next post I will demonstrate how we can also containerize our ASP.NET Core 2.0 web application.


